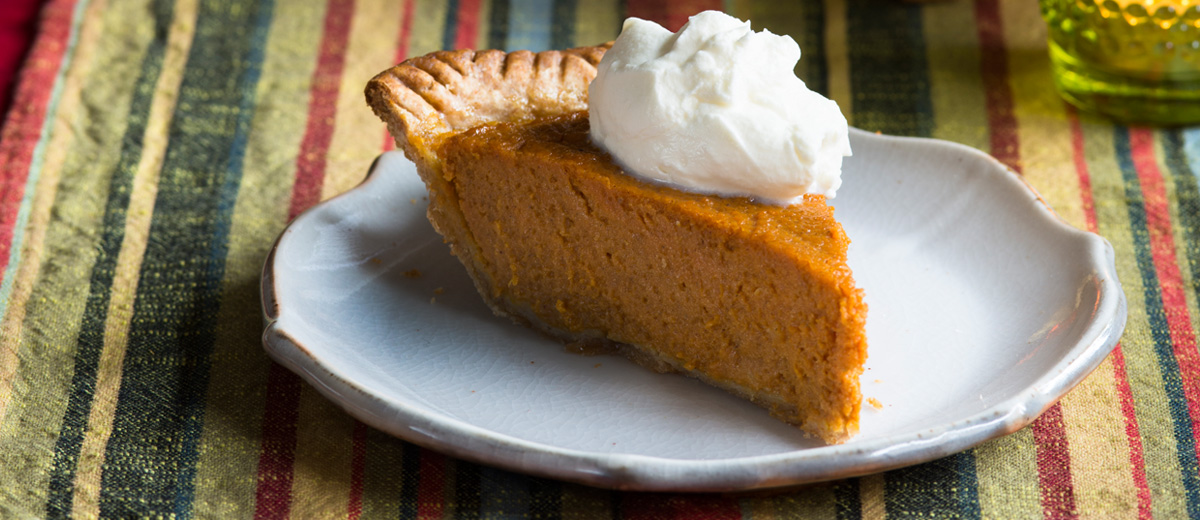
Ginger Pumpkin Pie by Alana Chernila
“It seemed nearly impossible to improve on the pumpkin pie of my childhood. Canned pumpkin puree, sweetened condensed milk, frozen pie crust–all following that perfect recipe on the back of the pumpkin can. My mother used to make extra pies and I’d eat pie for breakfast as long as they lasted. Given that pie was a vegetable, she was okay with it. One year, I paused at the great pyramid of “pie pumpkins” in the grocery store. It just went on from there, and it turned out that pie could get better after all. Creme fraiche for the tangy custard, extra ginger to take the heat up a bit, and easy homemade crust laced with crystallized ginger. This is the pie of my kids’ childhood, and I can’t wait to see what they do to it when it’s their turn to reinvent the family pumpkin pie. Until then, it’s perfect, and I still make extra pies for breakfast.” – Alana Chernila
Makes one 9 or 10 inch pie. This recipe makes enough filling for a 10-inch pie, a bit larger than the standard. If you’re working with a smaller pan and have too much filling for your crust, pour the extra into a few buttered ramekins and bake them alongside the pie for the first twenty minutes. Then you get pumpkin custard while you wait for your pie. This makes a super-gingery pie, and the crème fraîche adds a texture and tang to the custard that makes one of my favorite kinds of pie even more delicious. To up the ginger factor (and I always want to), add 2 tablespoons finely chopped crystallized ginger to your crust when you add the butter.
INGREDIENTS
Unsalted butter, for greasing the dish
All-purpose flour, for rolling the dough
1 recipe for a single whole-grain Piecrust (recipe follows)
2 cups (490 g) drained fresh Pumpkin Puree (recipe follows) or 1 15-ounce can store-bought pumpkin
2 large eggs
1 cup (240 g) crème fraîche
½ cup (120 ml) maple syrup
2 teaspoons ground ginger
1 teaspoon ground cinnamon
½ teaspoon grated nutmeg
½ teaspoon kosher salt
DIRECTIONS
1. Grease a pie dish that can easily survive the direct journey from the freezer to the oven (not glass). Lightly flour the counter and roll your crust to between ⅛ and ¼ inch thick. Fold it in half, then in half again; center it over the pan and gently unfold the crust. Trim the crust so it hangs about 1 inch over the side of the pan, fold the extra crust in on itself and crimp to create a decorative edge. Put the crust in the freezer while you make the filling. (The crust can be stored indefinitely in the freezer at this point—just put it in a freezer bag if you plan to freeze it for longer than a day.)
2. Preheat the oven to 375°F. In a large mixing bowl, combine the pumpkin puree, eggs, crème fraîche, maple syrup, ginger, cinnamon, nutmeg, and salt. Stir with a wooden spoon until the mixture is fairly uniform. Remove the crust from the freezer and place the pie pan on a rimmed baking sheet. Pour the filling into the crust. Bake until the pie just barely jiggles in the center, 50 minutes to an hour. Let your pie cool for at least 1 hour at room temperature, then transfer to the refrigerator until you’re ready to serve.
Storage notes · This pie does well tightly wrapped in the refrigerator for up to 3 days.
How to Make Piecrust
Makes two 9 inch crusts
Whenever I make piecrust, I always make double what I need. It’s just as easy to make four or even six piecrusts as it is to make two, and if I have a spare crust in the fridge, there are vast possibilities when it comes to dinner or dessert. Quiche! Pie! Tarts! This is the basic method from my first book, The Homemade Pantry, along with a few variations. The recipe was originally inspired by one from Shirley Corriher’s Bakewise. Her stand-mixer method transformed me into a confident pie maker, and I’ve heard from countless others that it’s done the same for them. If it’s hot in your kitchen, keep the mixtures cold by putting them in the refrigerator or freezer whenever you take a pause. – Alana Chernila
INGREDIENTS
2 sticks (230 g) cold unsalted butter, cut into ½-inch squares, plus additional for greasing the dish
2¼ cups (270 g) all-purpose flour
¹⁄³ cup (75 ml) cold water
2 teaspoons cider vinegar
½ teaspoon kosher salt
DIRECTIONS
1. Combine the butter and flour in the bowl of a stand mixer, using your hands to coat the butter in the flour. Put the bowl in the refrigerator.
2. Combine the water, vinegar, and the salt in a measuring cup, stirring to dissolve the salt. Put the mixture in the freezer for 10 minutes.
3. Remove the mixtures from the refrigerator and freezer. Using the paddle attachment, blend the flour mixture on low speed until it has the texture of crumbly meal. With the mixer still running, slowly pour the water mixture into the bowl. The dough will be crumbly at first, then after 10 or 20 seconds, it will come together in a ball. Stop the mixer.
4. Turn the dough out onto the counter and press it together into a large disk. Cut the dough in half; wrap each piece in plastic, waxed paper, or Bee’s Wrap and press each into a disk. Refrigerate for at least 1 hour and up to 3 days.
Variations
- Single crust: Use 1 stick (115 g) unsalted butter + 1¼ cups (150 g) flour + 1 teaspoon cider vinegar + ¼ teaspoon salt. Reduce the water to 3 tablespoons (45 ml).
- Whole-grain crust: Replace half the all-purpose flour with whole-wheat pastry or spelt flour.
Pumpkin Puree
I didn’t expect to have a favorite pumpkin, but I should have known that there’s nothing so simple as a basic pumpkin. I needed to make pie, and I asked my friends Jen and Pete if they had a spare pumpkin from their harvest. They gave me four pumpkins. “Do a comparison! You like that sort of thing.”
It turns out there is a pumpkin variety called Winter Luxury. It’s as round as a nineteenth-century French bosom, and just as luminous. The skin is frosted with white speckles, and the flesh, when baked, is soft and velvety. This is my favorite pumpkin for pie, and when I can find it, it’s the one I roast for puree. I’ll also settle for the Long Pie or New England Pie varieties, or any common sugar or pie pumpkin I can get my hands on. The only pumpkins I don’t eat are the large, tasteless pumpkins grown for jack-o’-lanterns—those, we save for carving. You can roast small and larger pumpkins alike, and you’ll get an average of 1 cup puree from every pound of pumpkin. Roast a few at once, and then fill the freezer with puree.
DIRECTIONS
1. Preheat the oven to 350°F. Use a large, sharp knife to cut the stem end off each pumpkin, creating a flat top. Cut smaller pumpkins in half and larger ones in quarters. Scoop out the strings and seeds, and throw them in a bowl to set aside for roasting separately.
2. Place the pumpkins flesh side down on a greased rimmed baking sheet. Bake until the halves are soft when pricked with a fork and on the verge of collapse, 60 to 90 minutes. Remove from the oven and flip over each half, venting the steam away from your face. Let the pumpkins cool.
3. Separate the flesh from the skin, either by peeling the skin with a knife or scooping the flesh out of the skin with a spoon. Transfer the pumpkin flesh to a food processor or high-speed blender and process until smooth, working in batches if necessary. This may require some tamping down, shifting of pumpkin pieces, and patience. If the pumpkin is dry and refuses to transform into a smooth puree, add water, a few tablespoons at a time, until you have a puree.
Storage notes · Freeze in 2-cup portions. Fill freezer bags, flatten them out, and store in the freezer for up to 1 year.
Note · Homemade pumpkin puree tends to have a higher water content than canned. If you’re making soup or a similar forgiving recipe, there’s no need to worry about the extra water. But if you’re making pie, pumpkin bread, or some other baked good, drain your pumpkin puree through a cheesecloth-lined strainer in the refrigerator for a few hours before using.
For holiday recipes, baking hacks and more, visit IncredibleEgg.org and Incredible Eggs on Facebook, Twitter, Instagram, Youtube, and Pinterest. #RecipeEggchange

